Mastering Floor Leveling Techniques for Tile Installation
- Vanstar Tiling Ltd.
- Feb 23
- 4 min read

When it comes to installing tile, one of the most important steps that often gets overlooked is floor leveling. I’ve learned that no matter how beautiful your tiles are, if the floor beneath them isn’t perfectly level, the final result can be disappointing. Uneven floors can cause tiles to crack, grout to crumble, and the whole surface to look off. That’s why mastering floor leveling techniques is essential for a flawless tile installation.
Whether you’re tackling a small bathroom or a large kitchen floor, getting the base right sets you up for success. I’m here to walk you through everything you need to know about floor leveling, sharing practical tips and clear steps to help you achieve a smooth, even surface ready for tile.
Why Floor Leveling Techniques Matter
Before diving into the how-to, let’s talk about why floor leveling techniques are so crucial. Tiles are rigid and unforgiving. Unlike carpet or vinyl, they don’t flex with uneven surfaces. If the floor has dips, bumps, or slopes, the tiles will reflect those imperfections.
Here’s what can happen if you skip proper leveling:
Cracked tiles: Pressure points on uneven floors cause tiles to break.
Loose tiles: Tiles may not adhere properly if the surface isn’t flat.
Uneven grout lines: This ruins the aesthetic and can lead to water damage.
Tripping hazards: Uneven floors can be unsafe, especially in busy homes.
By mastering floor leveling techniques, you’re investing in durability and beauty. Plus, it saves you from costly repairs down the road. I always recommend taking the time to prep the floor properly—it’s the foundation of a great tile job.

Common Floor Leveling Techniques
There are several methods to level a floor, and the best choice depends on your floor’s condition and the type of tile you plan to install. Here are some common techniques I’ve used and recommend:
1. Self-Leveling Compound
This is a popular choice for floors with moderate unevenness. Self-leveling compounds are liquid mixtures that you pour over the floor. They spread out and settle into a flat surface.
Pros: Easy to apply, quick drying, great for minor dips.
Cons: Requires a clean, primed surface; not ideal for very uneven floors.
2. Floor Patching
For small holes or cracks, floor patching compounds work well. You apply them with a trowel to fill imperfections.
Pros: Cost-effective, simple for small repairs.
Cons: Not suitable for large uneven areas.
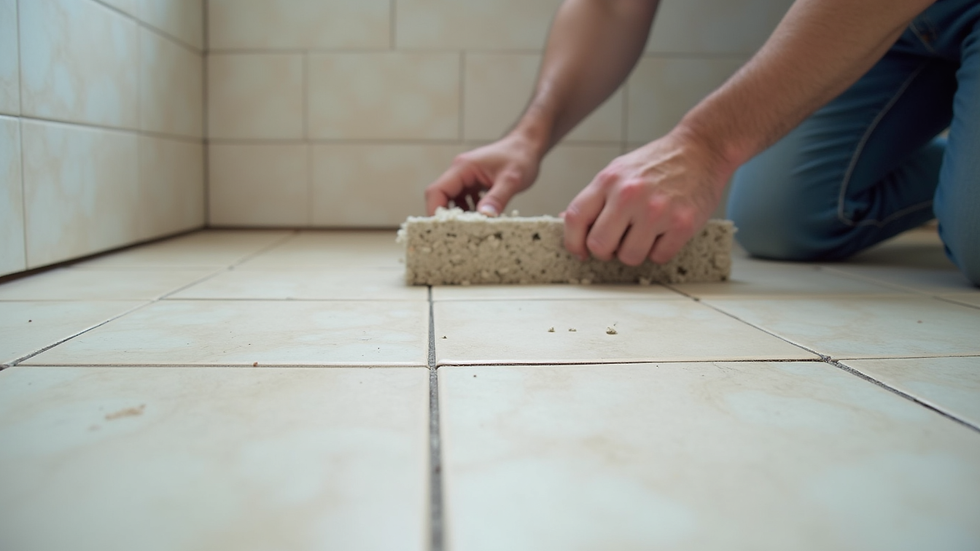
3. Grinding or Sanding
If you have high spots, grinding them down can help. This technique involves using a floor grinder to smooth out bumps.
Pros: Effective for removing high points.
Cons: Dusty and noisy; requires special equipment.
4. Subfloor Replacement or Reinforcement
In cases where the subfloor is damaged or warped, replacing or reinforcing it might be necessary.
Pros: Provides a solid, level base.
Cons: More labor-intensive and costly.
Each technique has its place, and sometimes a combination is needed. I always assess the floor carefully before deciding on the best approach.
How to level a floor before installing tile?
Now, let’s get hands-on. Here’s a step-by-step guide to leveling your floor before tile installation:
Step 1: Inspect and Clean the Floor
Start by removing any debris, old adhesive, or loose materials. A clean surface ensures better adhesion for leveling compounds.
Step 2: Check the Floor Level
Use a long level or laser level to identify high and low spots. Mark these areas with chalk or tape.
Step 3: Prepare the Surface
If you’re using a self-leveling compound, apply a primer to help it bond. For patching, make sure the area is dry and dust-free.
Step 4: Apply the Leveling Material
For self-leveling compound: Mix according to instructions and pour it onto the floor. Use a gauge rake to spread it evenly.
For patching: Use a trowel to fill holes and smooth the surface.
For grinding: Carefully grind down high spots.
Step 5: Let it Dry
Drying times vary, but usually, it takes 24 hours. Avoid walking on the surface during this time.
Step 6: Final Check
Once dry, recheck the floor with your level. If needed, apply a second layer or do touch-ups.
Step 7: Ready for Tile
Your floor should now be smooth, flat, and ready for tile installation.

Tips for a Successful Tile Installation After Leveling
After you’ve mastered the floor leveling techniques, here are some tips to ensure your tile installation goes smoothly:
Use a quality thin-set mortar: It helps tiles adhere better to the leveled floor.
Choose the right tile size: Larger tiles require a flatter surface.
Plan your layout: Dry-lay tiles to visualize the pattern and cuts.
Use spacers: Keep grout lines consistent.
Seal grout properly: Protects against moisture and stains.
Remember, patience is key. Rushing through the leveling or installation can lead to mistakes.
Why Professional Help Can Make a Difference
While DIY floor leveling is possible, sometimes it’s best to call in the pros. Professionals have the right tools, experience, and know-how to handle tricky floors. They can spot issues you might miss and ensure the job is done right the first time.
If you’re in Surrey, BC, and want a flawless tile job, consider reaching out to experts who specialize in floor leveling for tile installation. They’ll save you time, stress, and money in the long run.
Mastering floor leveling techniques is the foundation of any successful tile project. With the right approach, tools, and a bit of patience, you can transform an uneven floor into a perfect canvas for your tiles. Whether you’re doing it yourself or hiring a pro, understanding these basics will help you achieve stunning, long-lasting results.


Comments