


Achieving Level Floors for Tile Installation: Essential Floor Leveling Techniques

When it comes to tile installation, one of the most important steps is ensuring your floor is perfectly level. I’ve learned that even a slight unevenness can cause tiles to crack, grout to crumble, or the entire floor to look off. Whether you’re tackling a DIY project or managing a professional job, mastering floor leveling techniques is key to a flawless finish. Let me walk you through everything you need to know to get your floors ready for tile installation.
Why Floor Leveling Techniques Matter
Before diving into the how-to, it’s worth understanding why floor leveling techniques are so crucial. Tiles are rigid and unforgiving. If the surface beneath them isn’t flat and even, you’ll notice lippage (uneven tile edges), which not only looks bad but can be a tripping hazard. Plus, uneven floors can cause tiles to loosen over time, leading to costly repairs.
I always remind myself that a solid foundation is the secret to long-lasting tile work. Using the right floor leveling techniques ensures your tiles stay put and look great for years. It also makes the installation process smoother and faster, saving time and frustration.
Here are some common issues caused by uneven floors:
Cracked or broken tiles
Uneven grout lines
Water pooling in low spots
Difficulty in laying tiles straight
By addressing these problems upfront, you’re setting yourself up for success.

Common Floor Leveling Techniques
There are several ways to level a floor before tile installation, and the best method depends on the type of subfloor and the extent of unevenness. Here’s a quick overview of the most popular floor leveling techniques I’ve used and recommended:
1. Self-Leveling Compound
This is a go-to solution for many tile installers. Self-leveling compounds are liquid mixtures that you pour over the floor. They spread out evenly and fill in low spots, creating a smooth, flat surface. It’s perfect for concrete or plywood subfloors with minor to moderate dips.
Pros:
Quick application
Smooth finish
Can be used over large areas
Cons:
Requires proper mixing and pouring technique
Needs curing time before tiling
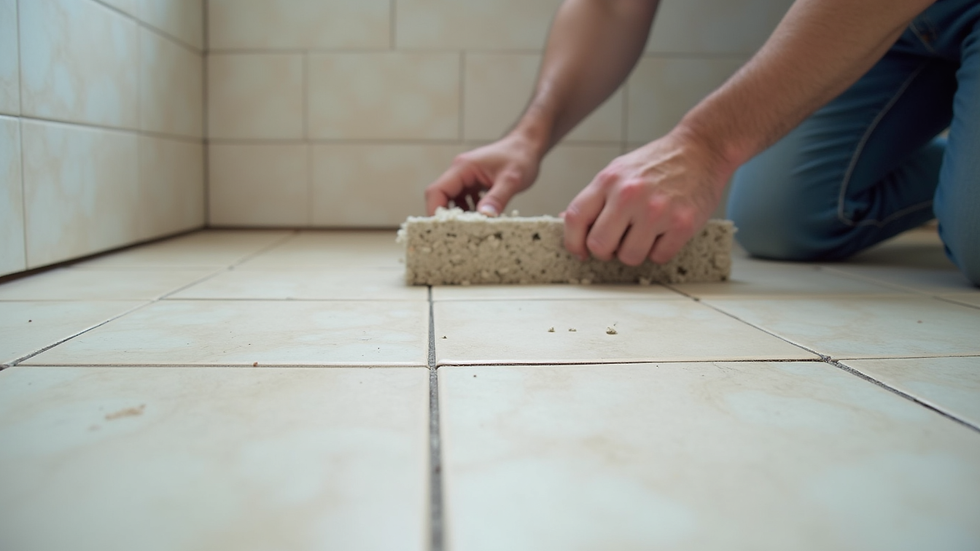
2. Grinding or Sanding High Spots
If your floor has high spots rather than dips, grinding or sanding them down can help. This technique is often used on concrete floors where certain areas are raised.
Pros:
Precise control over high spots
No added materials needed
Cons:
Dusty and noisy process
May require special equipment
3. Patching and Filling
For small holes, cracks, or uneven patches, using a patching compound or filler is effective. This method is usually combined with other leveling techniques.
Pros:
Easy to apply for small areas
Inexpensive
Cons:
Not suitable for large uneven areas
4. Installing a New Subfloor
In cases where the existing floor is severely uneven or damaged, installing a new subfloor might be necessary. This is a more involved process but ensures a perfect base for tile.
Pros:
Long-term solution
Can fix structural issues
Cons:
Time-consuming and costly
Requires carpentry skills
Each of these techniques has its place, and sometimes you’ll need to combine them to get the best results.
How to level a floor before installing tile?
Now, let’s get practical. Here’s a step-by-step guide I follow when leveling a floor before tile installation:
Step 1: Assess the Floor
Start by checking the floor’s flatness. Use a long level or straightedge (at least 6 feet) and place it on different spots. Mark any high or low areas with chalk.
Step 2: Clean the Surface
Make sure the floor is clean, dry, and free of dust, grease, or loose debris. This helps the leveling materials adhere properly.
Step 3: Prepare the Floor
If you have high spots, grind or sand them down. For holes or cracks, fill them with patching compound and let it dry.
Step 4: Mix and Apply Self-Leveling Compound
Follow the manufacturer’s instructions to mix the compound. Pour it onto the floor starting from the lowest point. Use a gauge rake or trowel to help spread it evenly.
Step 5: Let It Cure
Allow the compound to dry completely. This can take anywhere from a few hours to a day depending on the product and conditions.
Step 6: Final Check
Once dry, check the floor again with your level. If needed, apply a second layer or do spot repairs.
By following these steps, you’ll create a perfectly flat surface ready for tile installation.

Tips for a Successful Floor Leveling Project
From my experience, a few extra tips can make a big difference:
Measure twice, pour once: Double-check your measurements and floor condition before applying any compound.
Work in small sections: This helps control the flow and prevents the compound from drying too fast.
Use primer: Some self-leveling compounds require a primer to improve adhesion.
Maintain proper temperature and humidity: These factors affect drying time and final results.
Wear protective gear: Gloves, goggles, and a mask protect you from dust and chemicals.
Consult product instructions: Every leveling product has specific guidelines—follow them closely.
These simple practices help avoid common pitfalls and ensure a smooth, level floor.
Why Professional Help Can Be Worth It
While I love DIY projects, I also know when it’s best to call in the pros. Floor leveling can be tricky, especially for large areas or complex subfloors. Professionals have the right tools, experience, and know-how to get the job done efficiently and correctly.
If you’re in Surrey, BC, and want to ensure your tile installation is flawless, consider reaching out to experts who specialize in floor leveling for tile installation. They can assess your floor, recommend the best techniques, and handle the entire process with precision.
Remember, investing in proper floor preparation saves you from headaches and extra costs down the road.
I hope this guide helps you feel confident about tackling floor leveling for your tile project. With the right techniques and a bit of patience, you’ll achieve a smooth, level surface that makes your tiles shine. Happy tiling!


Comments